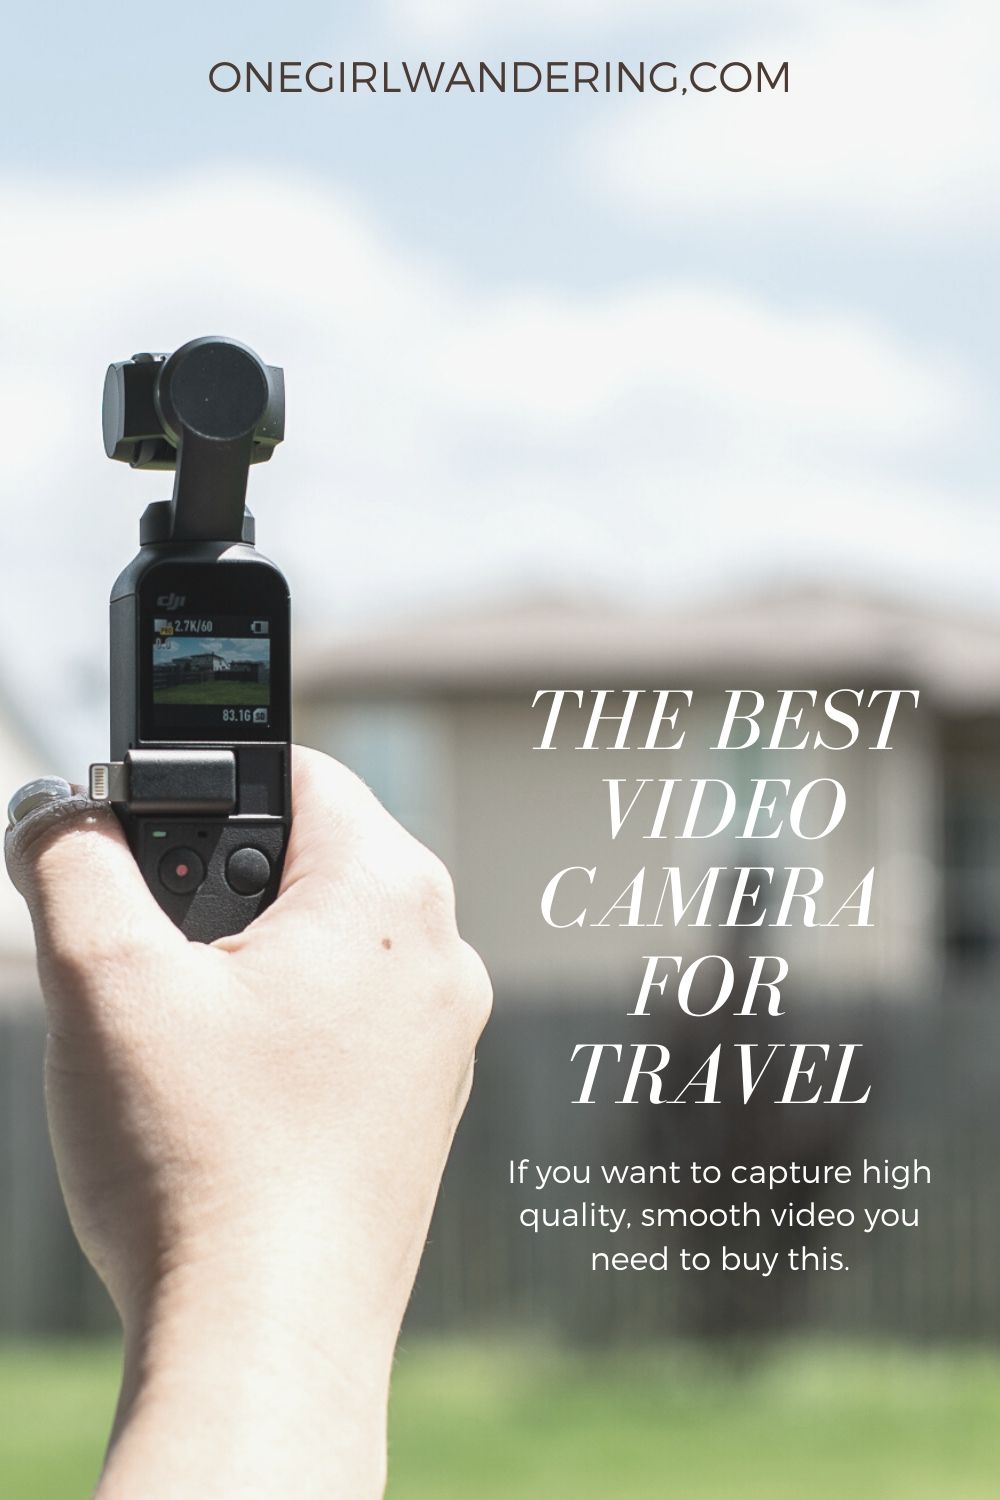
As I have added video into my content creation lineup I knew I needed to do better than just phone video. I didn’t want to have another huge piece of equipment to take along with me but I wanted something that shot high quality, smooth video. I had played around with the DJI Osmo Mobile which is a gimbal for a smart phone but it’s pretty large and didn’t always seem to work well. The last thing I wanted was an equipment failure while on the go, away from home.

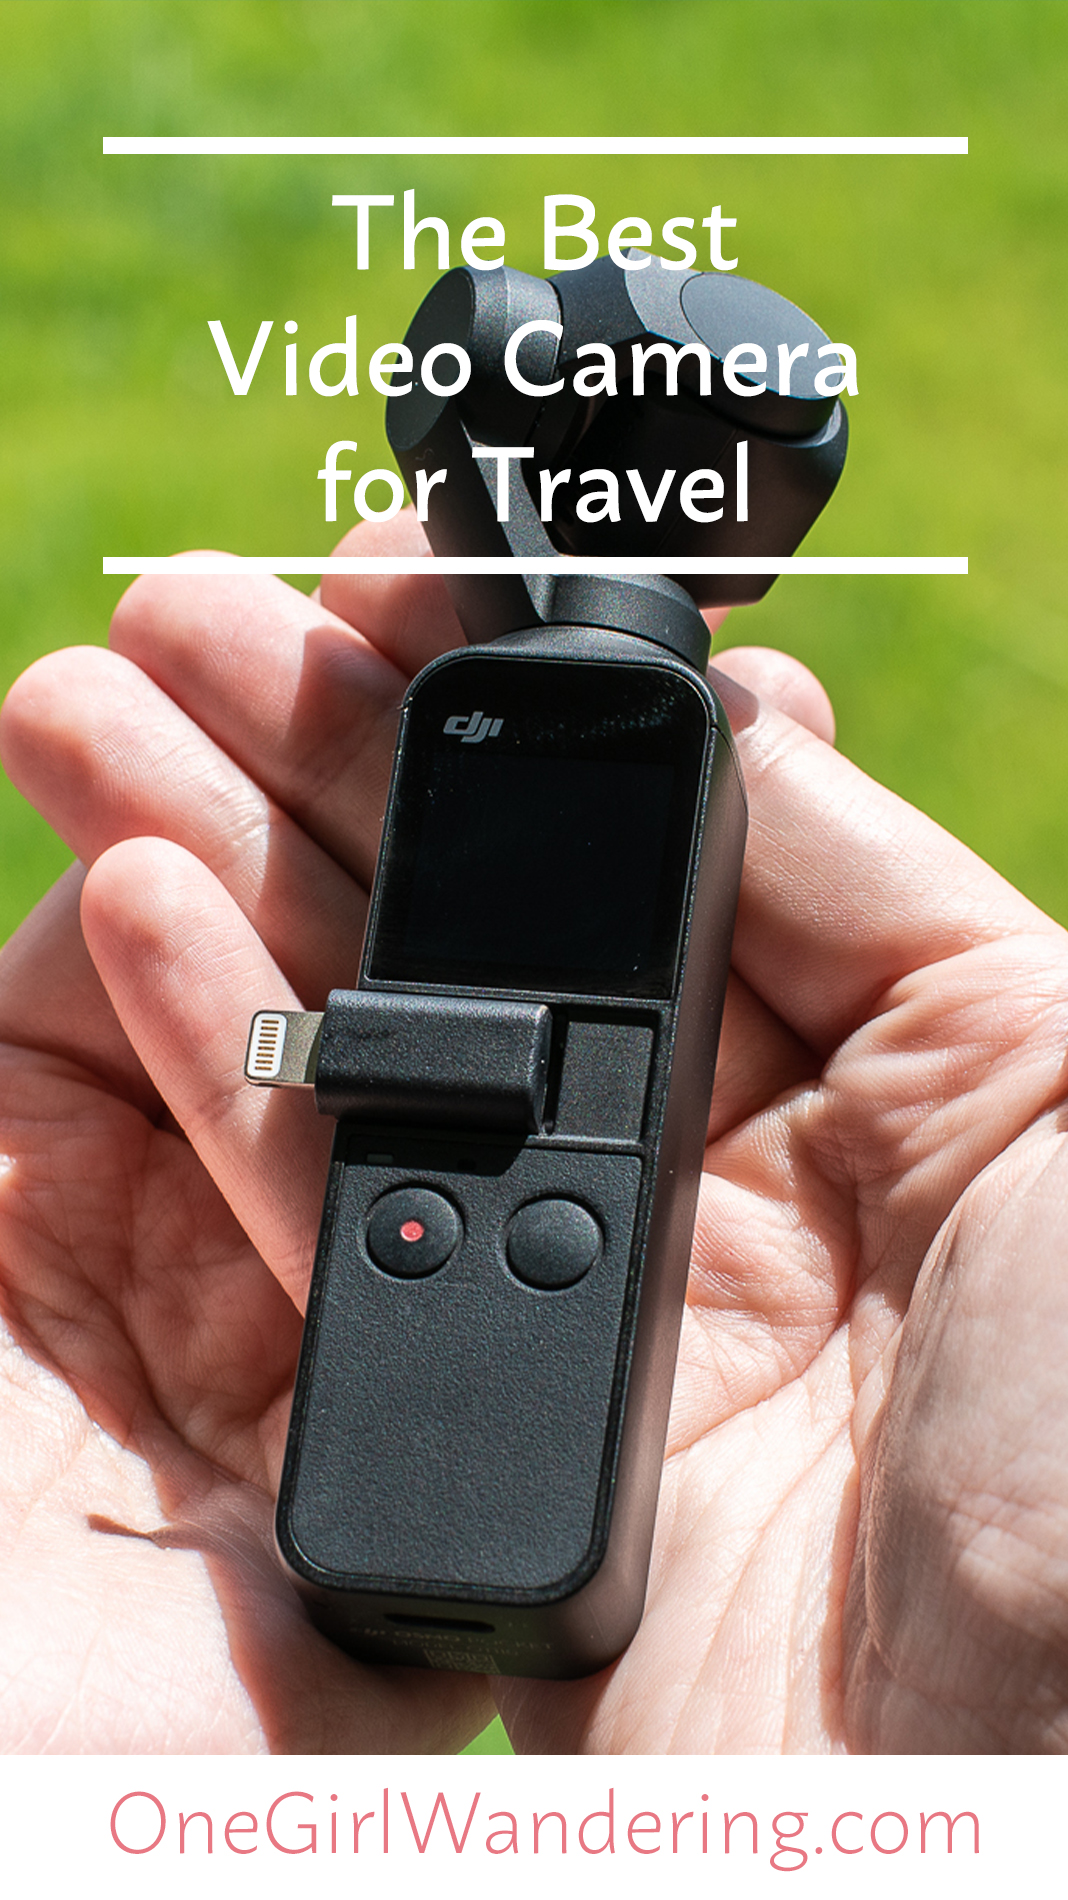
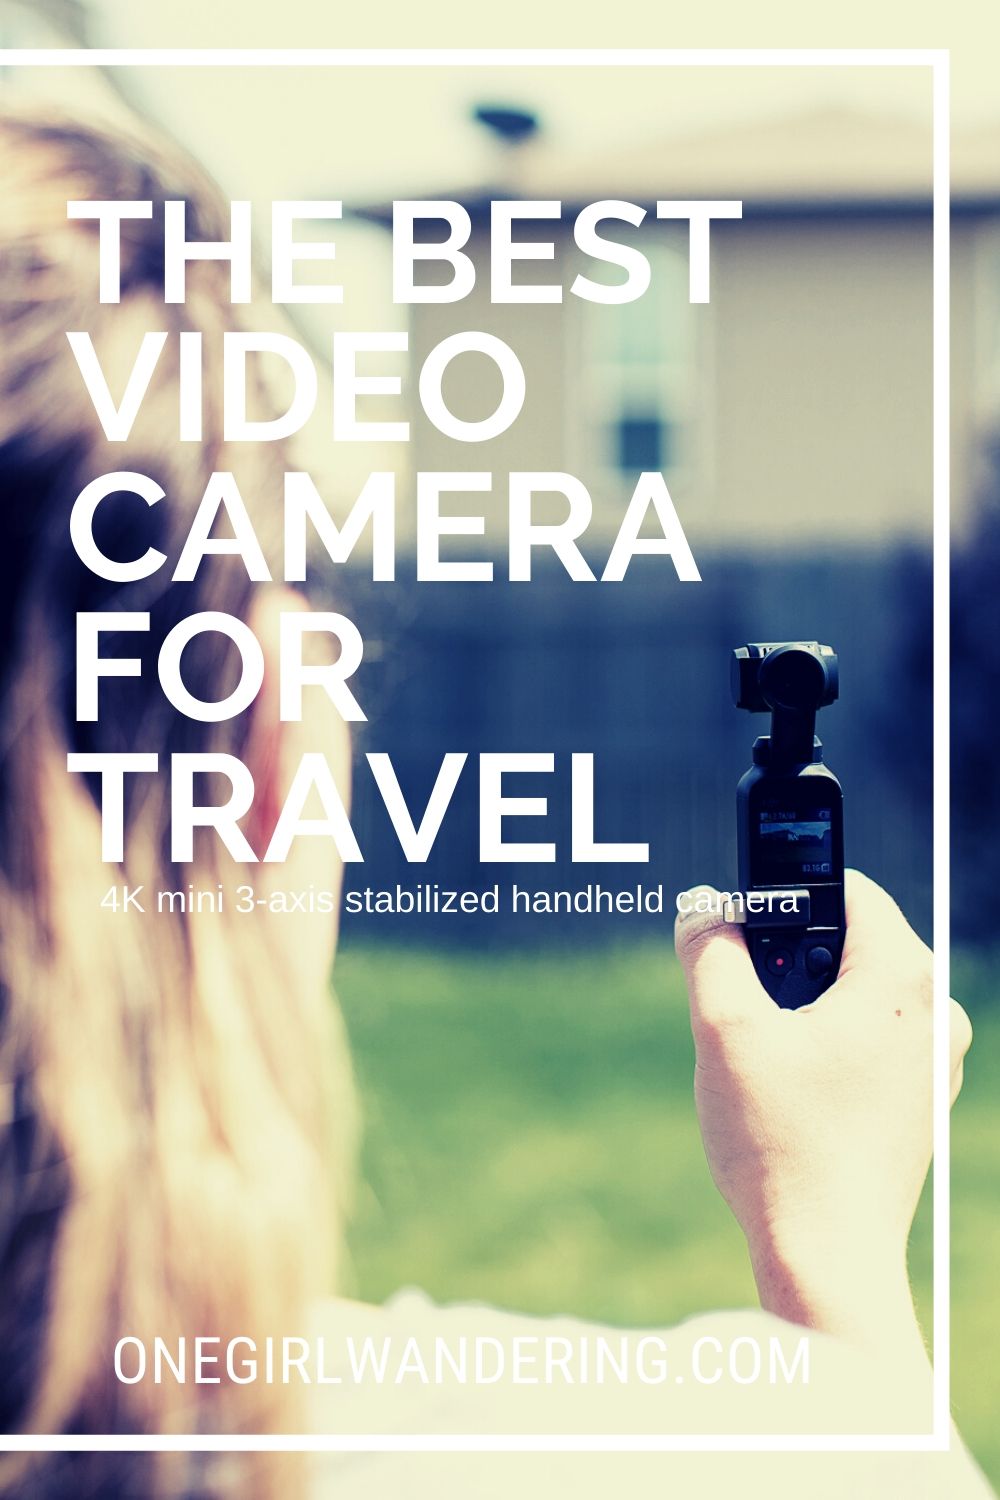
Enter the DJI Osmo Pocket. The Osmo Pocket is a 4K mini 3-axis stabilized handheld camera, checking off my desire for smooth, gorgeous video and at less than $400 it keeps my budget in check.
Here are the stats for my video nerds: 4K/60fps video at 100 Mbps, slow motion video at 1080p/120fps 4x, and photos at 12 MP with a pixel size of 1.55 μm.
It can shoot both horizontal and vertical. I have to say that the horizontal is better/easier to hold the Osmo Pocket but having both as an option is great especially since I’ve had to start thinking beyond the vertical screens of Instagram and Tiktok. The quality is also so good that if you did want to crop down from a horizontal video you are not going to experience much quality loss. I’ve done this quite a bit repurposing horizontal footage for various social platforms.
The Screen and the DJI Mimo App
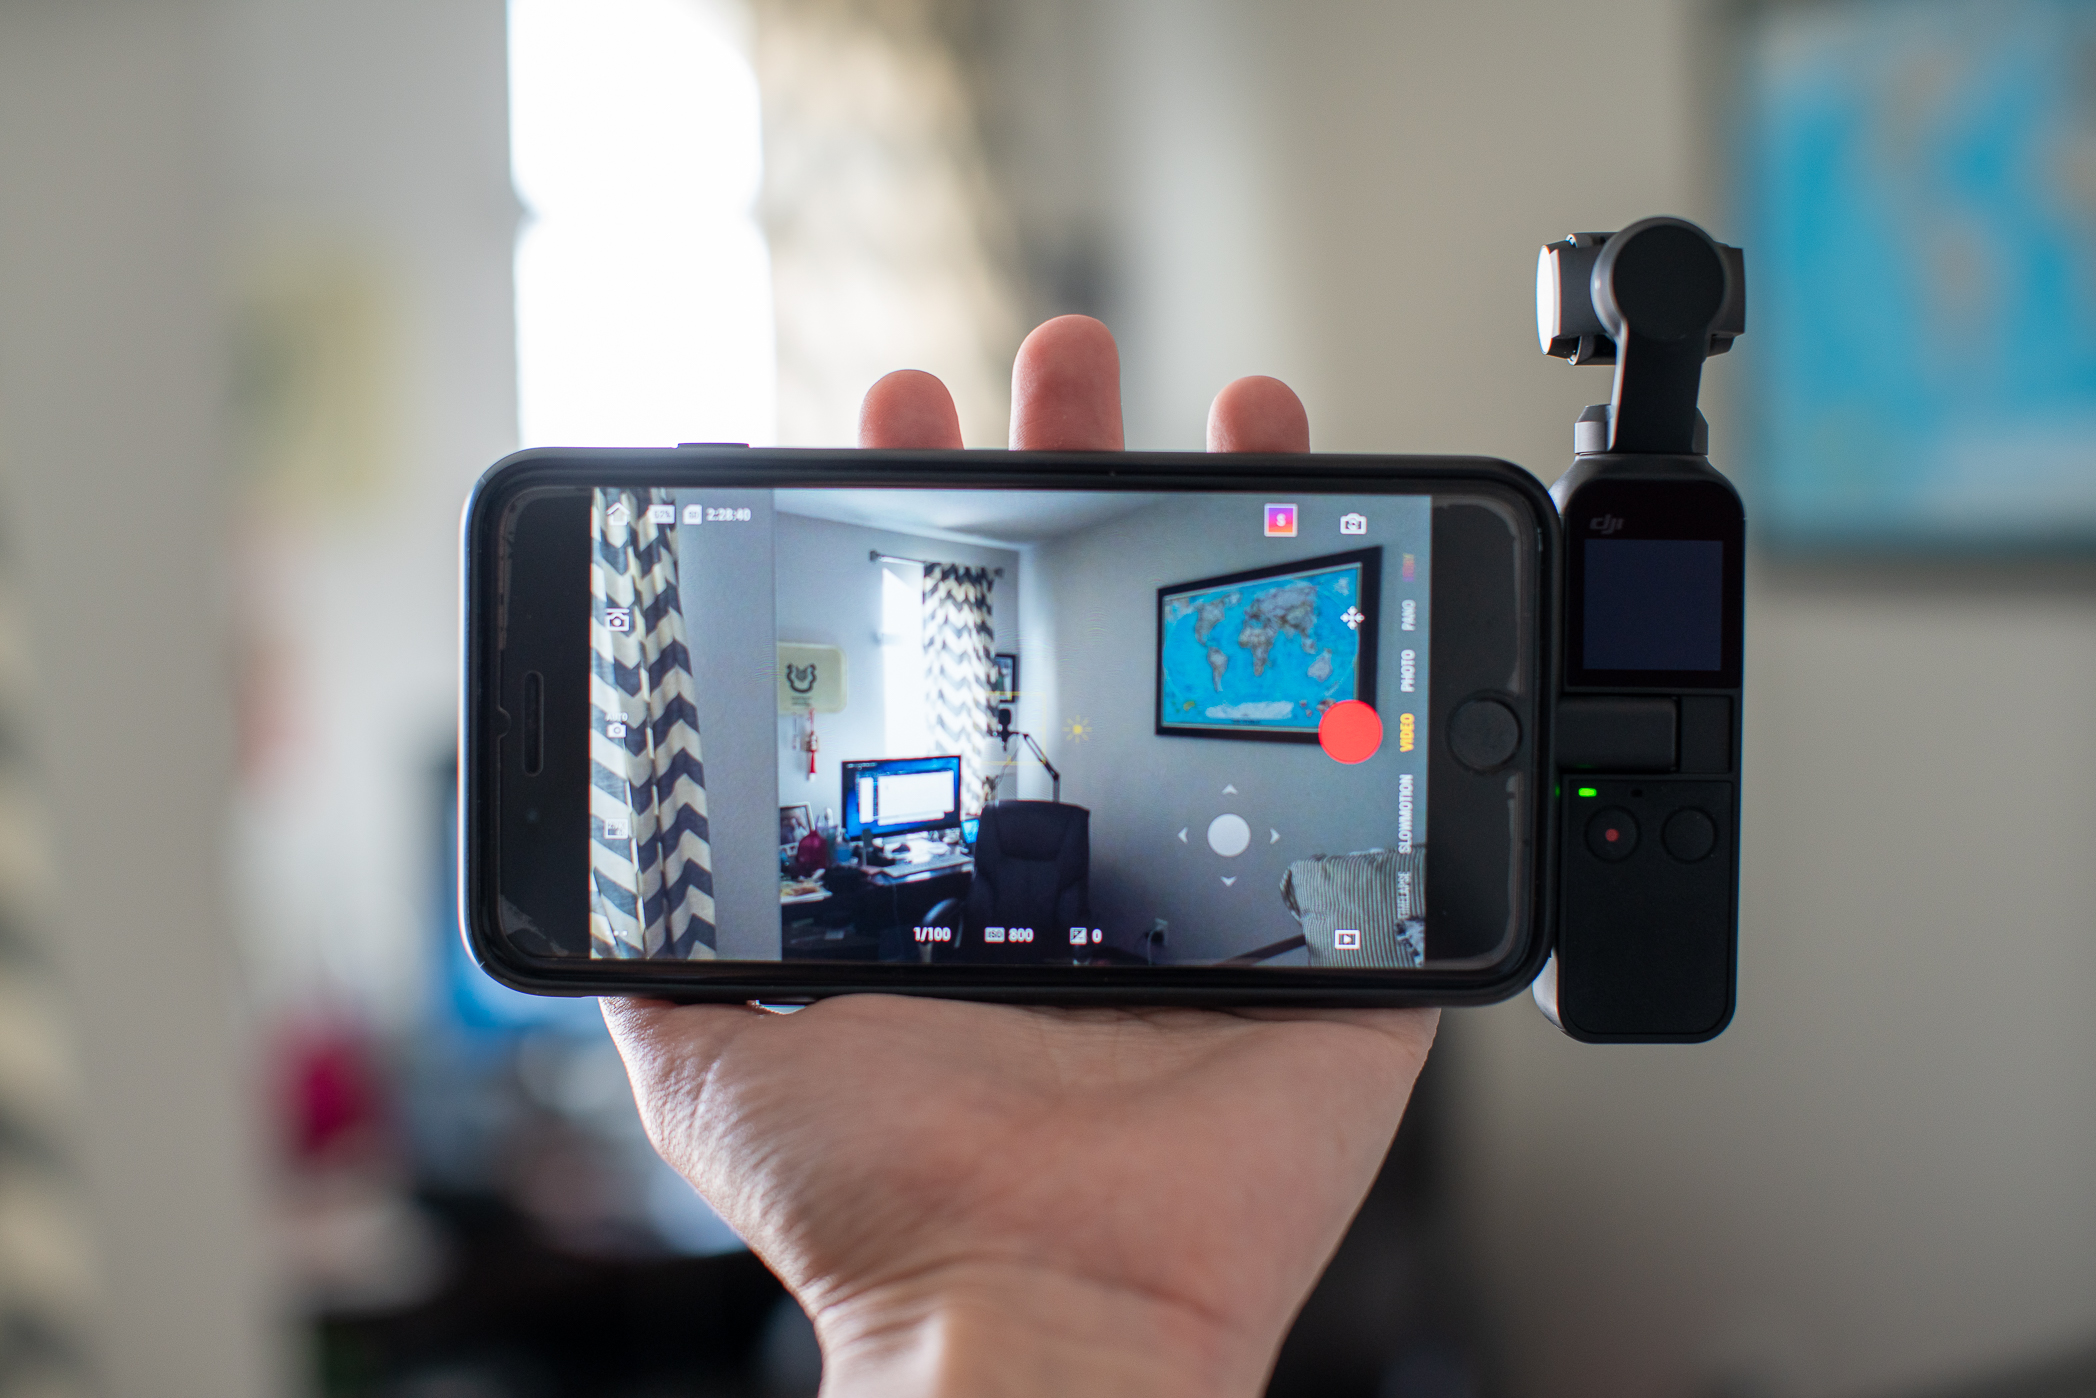
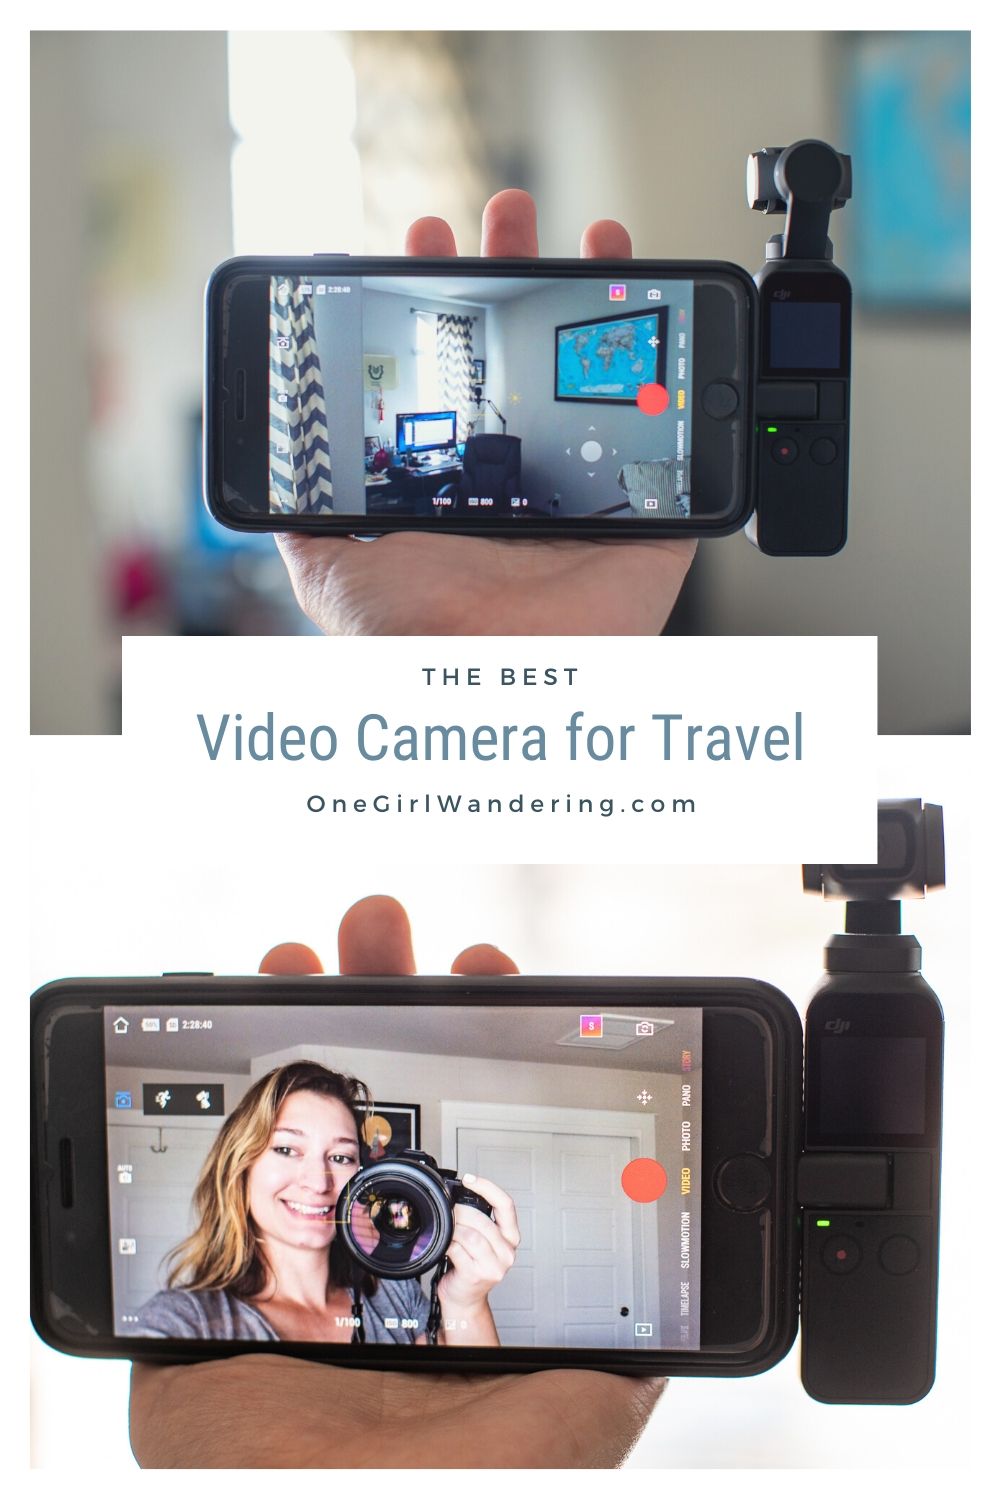
I’m sure you are thinking, “Great, it’s so small but that screen is tiny! How can I even see what I’m doing?” No worries, because the Osmo Pocket has a phone attachment that allows you to use your phone screen as your viewfinder. Using the DJI Mimo app you have easier access to the Osmo Pocket settings in addition to a larger screen to work with. These settings include slomo, panorama, timelapse, and switching from video to photo.
There is also the ability to focus lock, giving the cool cinematic feature of having a subject move from out of focus into it.
There is also a new feature that I have just started exploring called “Story” which allows you to shoot within stock templates to make a short pre-edited video. You can also control the tilt and turn of the gimbal from the app with on screen controls so you don’t have to swing your phone and Osmo Pocket around.
The app also allows you to see your library of videos and download them from the SD card to your phone. There is a built in editing feature to the app. I haven’t played with it that much because I have my favorite video editing app and it works well for me.
Selfie Mode
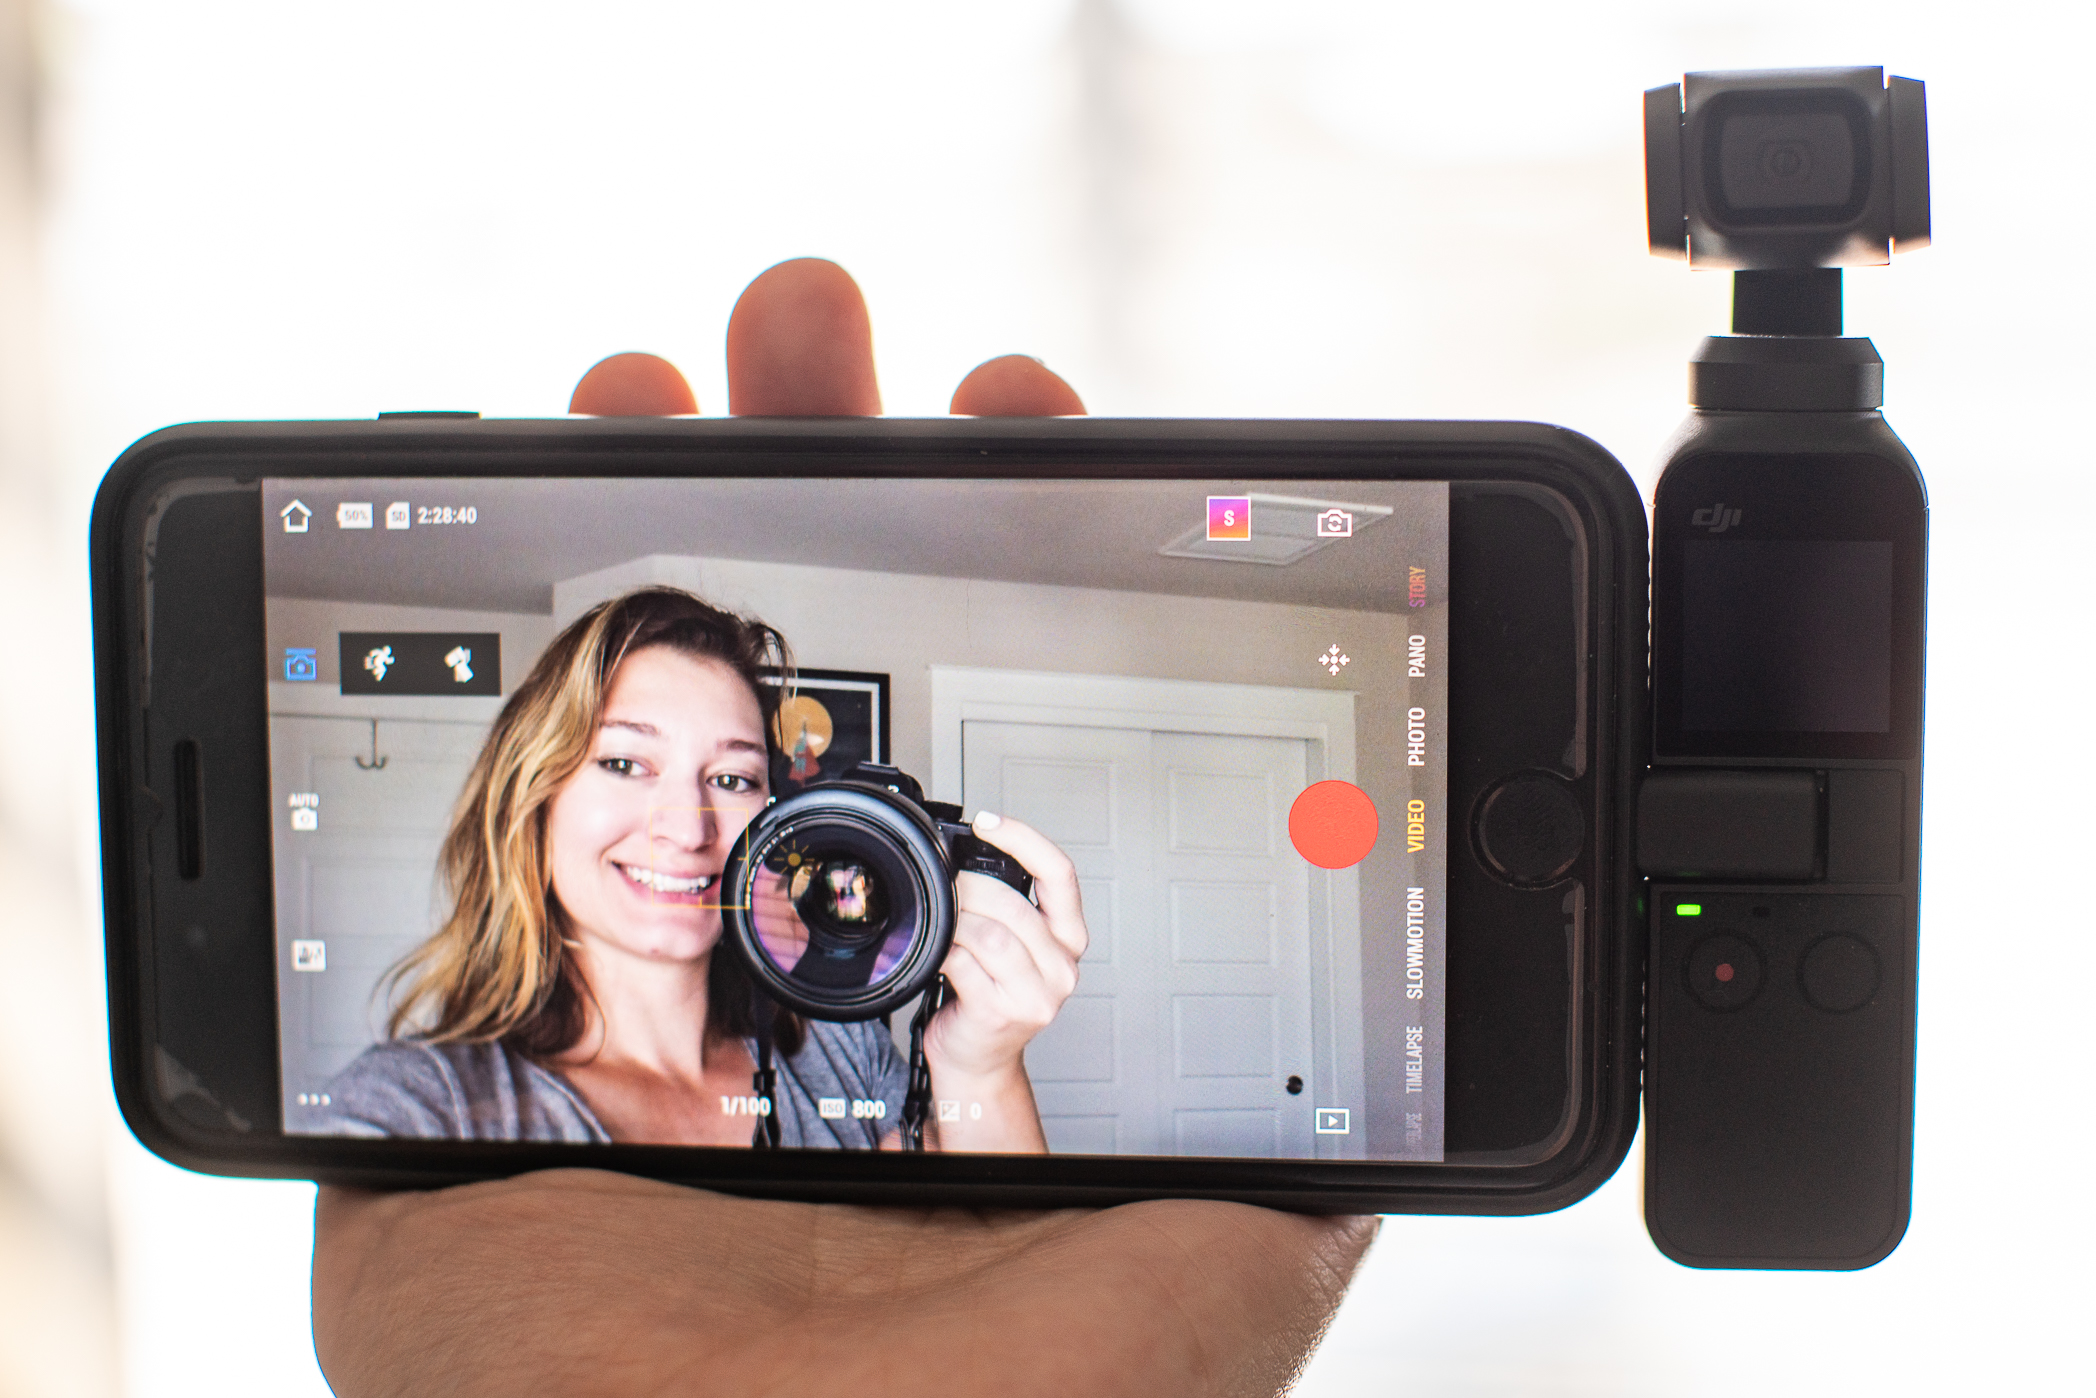
Of course there is one! You can flip the camera around on yourself which is great for handheld vlogs. One of my favorite features is that there is face tracking (this also works in non-selfie mode). Once the Osmo Pocket locks on your face it will follow you as you move. You don’t have to worry about accidentally moving out of frame.
Audio

There is a built in microphone, which I personally think is great and haven’t had any issues with. But if you are looking for a bit more oomph in the audio department, especially for my vloggers, there is the option to add a USB-C to 3.5mm adapter which can be used to add a wired mic or your preferred wireless receiver and microphone.
Accessories
Let’s talk about accessories for the Osmo Pocket because there are a ton out there.

Controller Wheel
The Controller Wheel allows for easier control of the gimbal using a scroll wheel instead of moving the actual Osmo pocket. It also has two buttons that allow easier access to the selfie feature and moving between ‘follow,’ ‘tilt locked.’ and ‘FPV’ modes. One thing to note is that because this accessory plugs into the same place as the phone connector you are unable to use the phone’s screen. But there is a solution to that…

Wireless Module Mount
This small Wireless Module Mount attachment clicks onto the bottom of the Osmo Pocket and allows it to transmit wirelessly to your phone’s DJI Mimo App. With this you have full control over the Osmo Pocket in the same way if it was attached to your phone. This is great especially if you are a solo traveler wanting to film yourself and control the camera from a distance. I’ve used this to get video of myself while panning the camera. Yes, you do have to come up with some creative ways to hide your phone but it’s a great option.

If this is something that you are interested in, I highly recommend getting this tripod mount which fits on the wireless mount. All other tripod mounts that I have used don’t fit quite right with the wireless accessory.

Accessory Mount
For people who are more active than me. This accessory mount lets you attach the Osmo Pocket to things like bike helmets, handlebars, etc. There are two versions of this, the first is very sturdy and wraps around the majority of the Osmo Pocket. I recommend this if you are planning on filming a vigorous activity. The other version has a smaller profile, and would be better for something less active like being on a tripod.
If you are interested in all three of these accessories, there is a nice four piece set on Amazon and this is something that I have personally purchased.
Tripods

For me, having the ability to get my Osmo Pocket on a tripod is super important when I’m solo traveling. I need to be able to shoot video of myself and it can’t always be handheld. The two mounts that I have used for this are the low profile accessory mount and the tripod mount that fits over the wireless module. The low profile accessory mount is a bit more secure as it wraps around the entire body as opposed to the wireless tripod mount which slides on. Just note that when you have the wireless module and the low profile accessory mount on it can get crowded. I also recommend getting an additional quick release plate compatible with your period that way you aren’t having to take the time to pull it off your camera and attaching it to your Osmo Pocket then switching it back again.

There are a few options for a small, Osmo Pocket specific tripod. I personally try to keep what I’m carrying to a minimum but if I was to get one it would be this one from USKEYVISION that holds the Osmo Pocket and your phone with an additional mount for an external microphone.

If you like this mount style but want to stick to your own tripod there is this legless version from ULANZI that’s pretty sweet.

Extension Stick
In the same vein as a tripod there are a couple “extension sticks” to choose from. There is the official DJI Osmo Pocket Extension Rod which is essentially an extendable selfie stick. It also has a phone mount as well as controls on the handle so you can still operate the gimbal. A nice feature is that it will also charge your Osmo while it is attached to the rod. You will still need the wireless module if you want to use your phone to operate the Osmo Pocket.

Backpack Clip Mount
This is a really neat, cheap accessory that is basically a big clip that attaches the Osmo Pocket to the strap of a backpack so you can film hands free while walking. I haven’t tried it, but I bet hiking with this would make for some great video. And why just limit yourself to a backpack? There are many places that this clip could be utilized.


Lens Attachments and Filters
You can start to get pretty fancy by adding lens attachments. Just like swapping a camera lens, there are multiple attachments that can be used with the Osmo Pocket. There are wide angle options that will increase how much content you can capture in one shot and a macro lens for detailed, close up shots. Filters that work to reduce lens flare and glare. And even one that will add a sparkly lens effect to night shots making things look a bit more glamorous.

Waterproof Case
For my water loving friends, especially those of you who like to dive, there are few different options for a waterproof housing to take the Osmo Pocket to new depths.

Charging Case
If you are looking to upgrade the rather flimsy protective case that comes with the Osmo Pocket this case is also a portable power bank. It also has room for two MicroSD cards, four ND filters, and two smartphone adapters.
Cases
Now that you have your precious Osmo Pocket and accessories you need something to keep it all together and safe.

This is my current case. It holds everything I currently have and has a great zipper pouch in the lid for loose items, like extra memory cards, tripod mounts, etc. It fits nicely in my backpack with all my other technology.

If you are looking for something a bit more robust and waterproof this case is a similar size to mine.

There is also this larger case which has more places for accessories like the extension rod.
Wow this post ended up being way longer than I intended it to be but quite honestly it’s been a while since I have been this excited for a piece of equipment. I’m beyond impressed with what the Osmo Pocket can do and how easy it has been to take great video. If you are looking to expand your content into video, I highly recommend it.
Disclosure: This post may contain affiliate links, which means I may receive a commission if you click a link and purchase something that I have recommended. While clicking these links won’t cost you any extra money, they will help me keep this site up and running as well as keep me traveling!